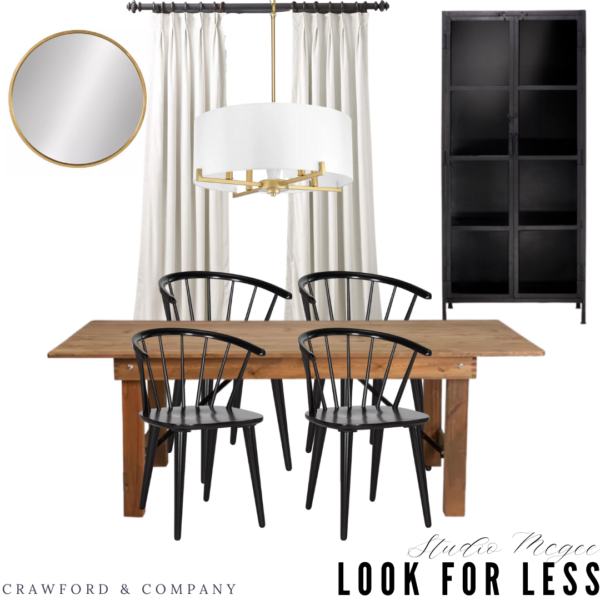
It’s been a minute since I’ve given an update on Nellie’s room. I was really hoping to be further along, but my biggest obstacle is finding a time to work on her room since she still naps in the middle of the day. The weekends seem to be the best time for me to get things done, but last weekend was Isla’s birthday, so I was unable to make time and this coming weekend we will be at the beach. So, this weekend I tried to get as much done as I could and I almost met my goal to get all the boards up. Let’s just say, I got my steps in going back and forth between the garage and Nellie’s bedroom, which is upstairs and at the end of the hallway :).
Remember, I am in no way a DIY expert or teacher, so I’m going to show you bits and pieces of the process, but this will not be a tutorial. I am not your girl for that haha.
To start, I decided not to remove the baseboards because mine are in pretty good shape and to be honest, I’ve never done it before and I didn’t want to bite off more than I could chew. With that being said, baseboards aren’t typically level, so that needs to be considered. Two walls in her room were level and two were not. So, what I did was set up my laser level and projected a line around the room at the height that I wanted. I had to measure as I went around the room and cut the bead board panels at the distance from the top of the baseboard to the line (this measurement was different in a lot of areas since the baseboards aren’t level). This definitely made it more difficult to put the boards up on my own since I couldn’t rest them on the baseboards. The boards are pretty wide, just a little less than my wingspan, so they were hard to hold and maneuver on my own.
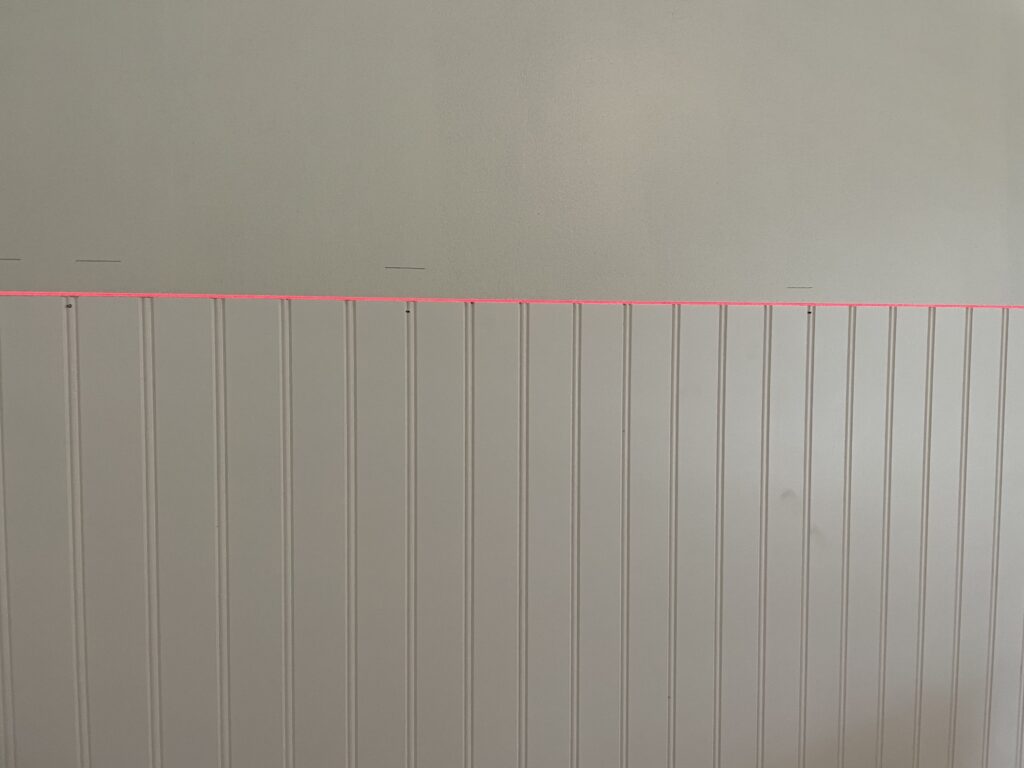
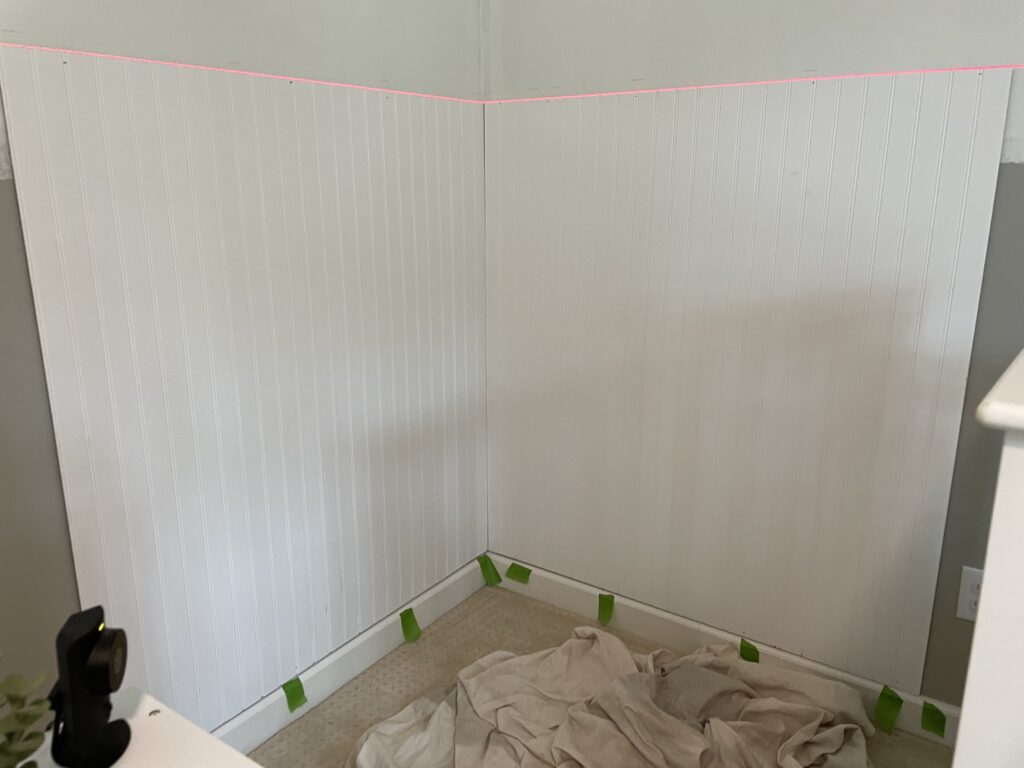
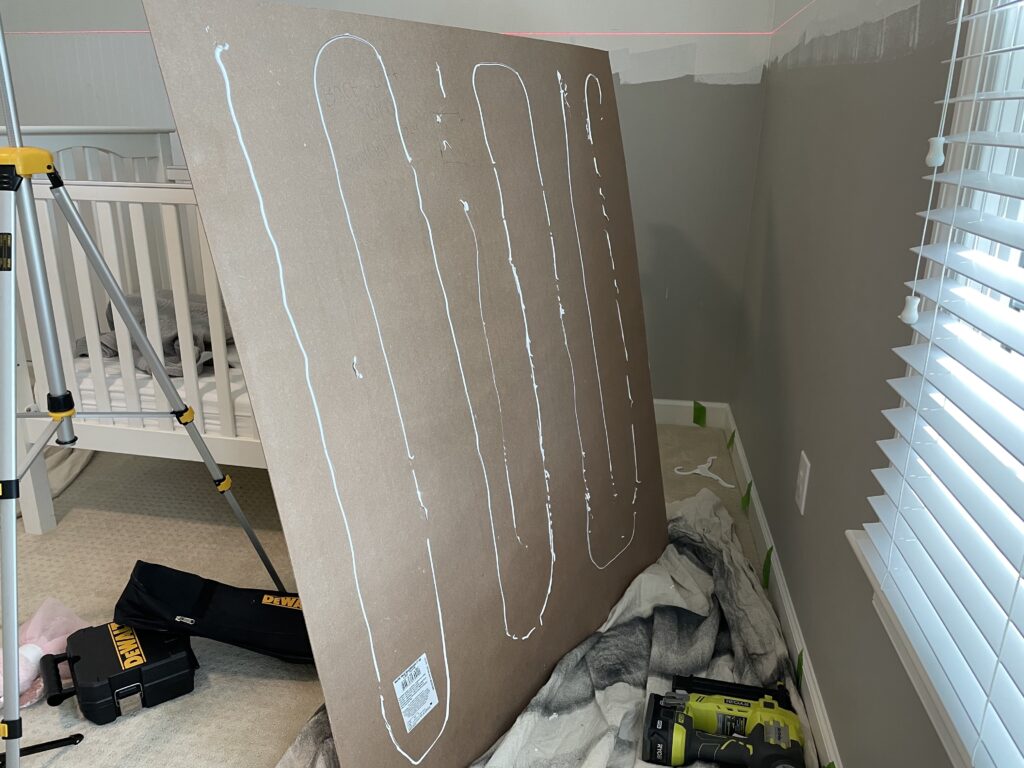
I applied glue to the back, lined the boards up to the level line, and then used a brad nailer to attach the boards to the wall. I also pre-marked the studs so that I could nail the panels into the studs so the panels would be more secure in the wall.
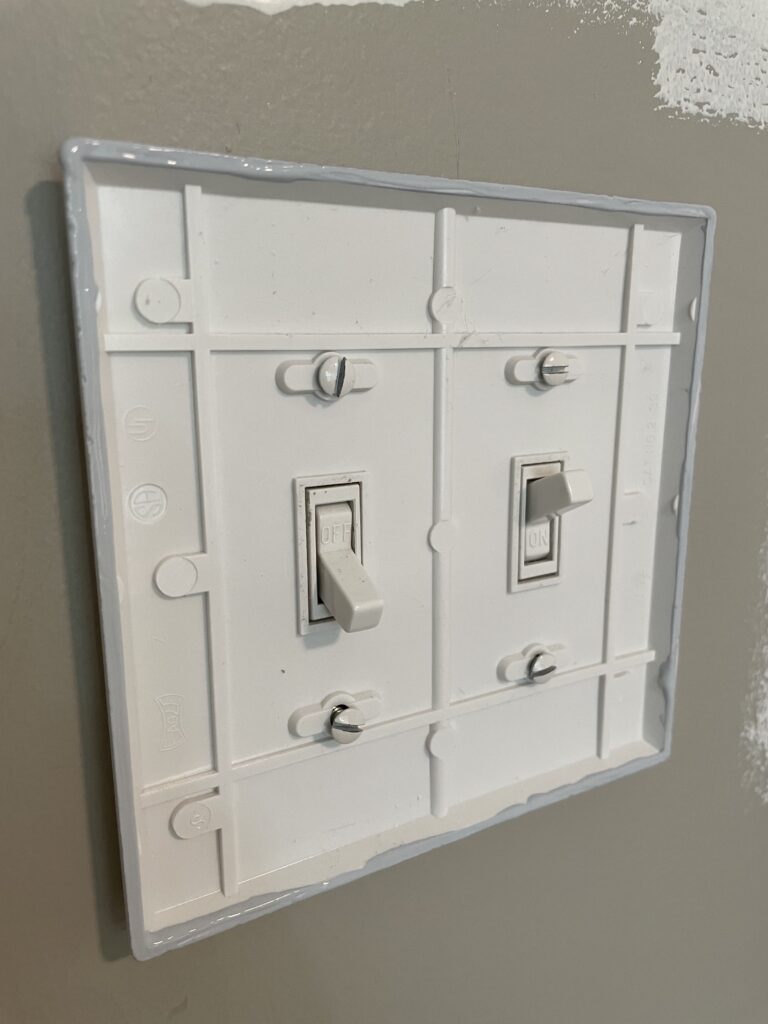
To go around the outlets, I flipped the plates backwards, applied paint to the edge, pushed the panels against the plate (the paint transfers to the back) and used the jigsaw to cut out the hole. All of this took about a thousand trips back and forth between Nellie’s room and the garage.
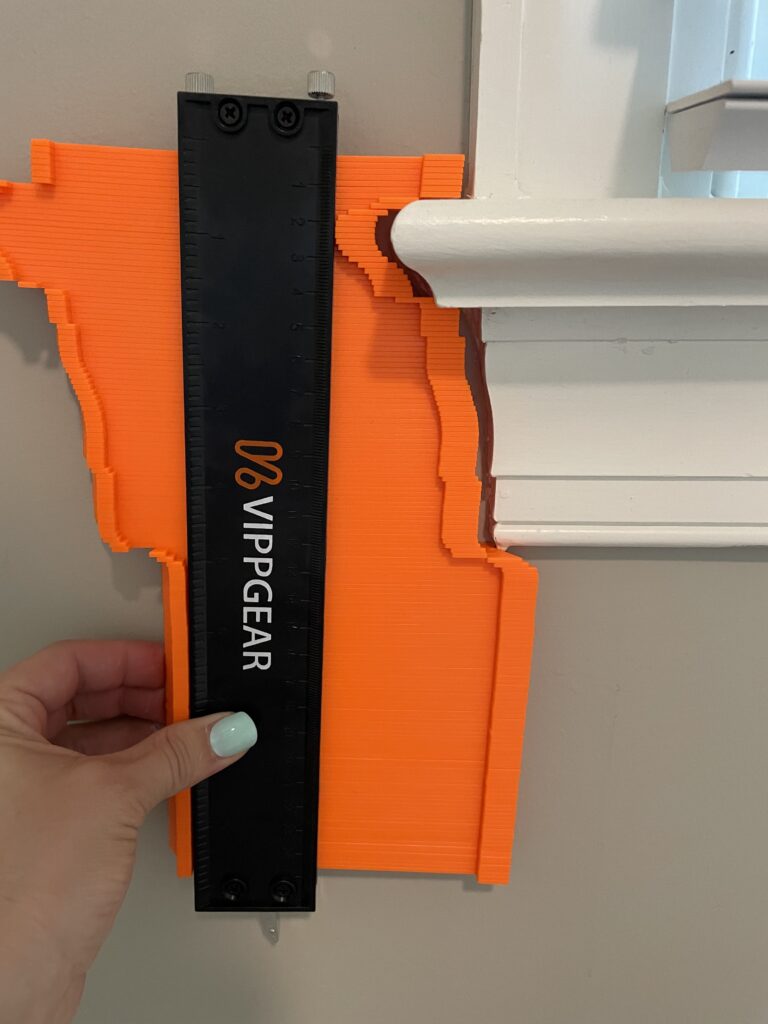
Now, cutting around the window sill is a different story, and one I am still struggling to figure out. I even have a fancy tool, but for whatever reason my brain can’t sort it all out. So, to be continued.
So, while my goal was to get all the boards up, I fell a little short and have a couple more boards to go. I really want to get them done so I can start caulking and filling holes this week before we leave for the beach. Then, my mom will be in town next week and I will hopefully be able to get the wallpaper done then. My plans don’t typically go according to plan though, so we shall see! Haha!
Make sure to check out the One Room Challenge blog to see what other participants are up to!

